

We talked about the importance of the YouTube video thumbnail on several occasions; that is because the importance of using an excellent thumbnail for your videos is essential for the success of your video. The thumbnail is the beacon that draws the viewer's attention to your content.
That is why you need to devote some time and plan your YouTube video thumbnail for the most significant impact. It needs to be up to standards to draw people's attention. The video thumbnail needs to be enticing enough so viewers will be inclined to click on your video instead of the competition. Here we'll talk more about creating a great YouTube video thumbnail or updating some of your published videos.
The thumbnails are the small images next to the title of your videos on YouTube. They serve as little ads or billboards to show the audience what they can expect to see on a particular video. The higher the attractiveness of your YouTube video thumbnail, the higher the chances of getting more views and subscribers to your YouTube channel.
You need to know how your content fares on YouTube, and the thumbnails you use have a significant role. To be more successful, you should always use custom thumbnails instead of the auto-generated ones YouTube suggests. It is crucial because the thumbnail's quality directly correlates to the quality of the content it represents.
As advice, we'll say that you should opt to use a YouTube thumbnail editor to create your custom thumbnails. Avoid using Paint and similar simple apps: instead, opt to use the services of a quality design program that enables you to design and tweak each element of your thumbnail to perfection. That is why today, we'll talk about using Photoshop to create your next YouTube thumbnail design.
Photoshop is graphics and image editing software that offers an abundance of features to its users. The program is extensive and has separate tools for different applications. It allows photo-editing of images, compositing digital paintings, creating animations, and of course, all sorts of graphic designs.
Unlike many other design platforms, Photoshop does not offer pre-set templates, so you need to create your own from scratch. It can be limiting for someone, but it is not that difficult to start the design and immerse yourself in a creative stream.
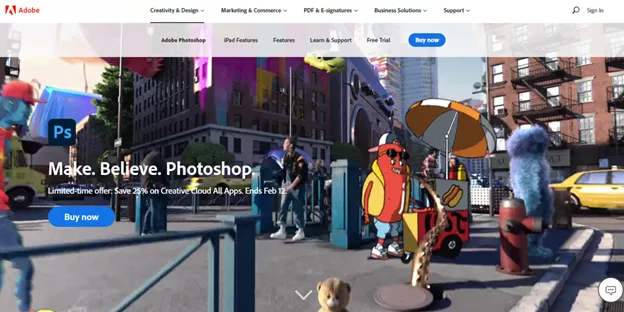
The Photoshop software is available via the Adobe site, and it comes at different prices, depending on the plan you select.
The most popular plan is to purchase the Photoshop software as a standalone program. This purchase is for individual designers and will set you back $20.99/month for an annual plan; the monthly plan is actually $31.49/month. With this offer, you get:
The business plan costs $24.99/month per license. You can select one creative desktop app for this price; the complete Adobe suite costs $79.99/month. With this offer, you get:
All students and registered teachers get a 60% discount on all Adobe apps, and they get all the creative desktop apps for a single price of $19.99/month for the first year and $29.99/month after that.
This offer is for educational entities, and they can purchase a single license for $14.99/month per user.
There are many other offers Adobe has in place for various applications, so for more info, you can check out the pricing plan on the Creative Cloud page on the Adobe website.
We covered the most important things you need to know about Photoshop, so it is now time to proceed with our step-by-step instructions on using this graphic design program to create your awesome YouTube thumbnails. We'll even start with instructions on how to purchase and install the Photoshop software on your device. Let's start this tutorial and create incredible custom thumbnails.
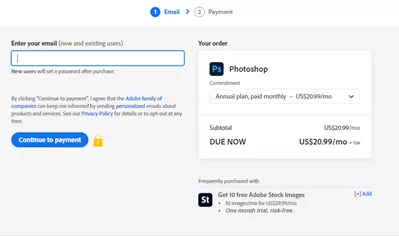
First, you will need to pay for your subscription and enter a valid email address to install Photoshop on your device. After you complete this, you will need to download and install the Photoshop software on your computer. It is quite simple to do this - just follow the on-screen instructions. It should not take you more than 5 minutes for this, and you can start your custom thumbnail design.
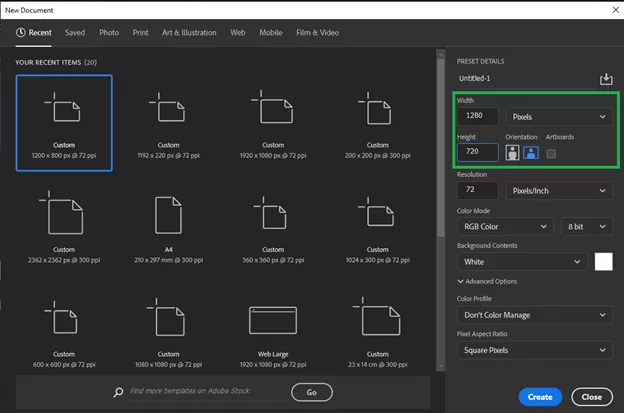
To begin designing your thumbnail, open up the program and start a new document. Here you will need to set the design's size; in our case, as we create a YouTube thumbnail, its size should be 1280 in width by 720 pixels in height. Once you set the size, you'll see the work environment and start your design.
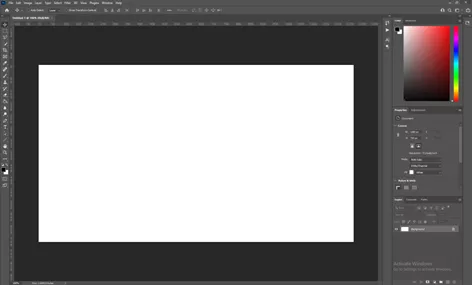
Maybe the most important thing to remember when creating any type of design in Photoshop is to use a new layer for each element. This way, you can organize and keep track of all your elements and add different effects to them.
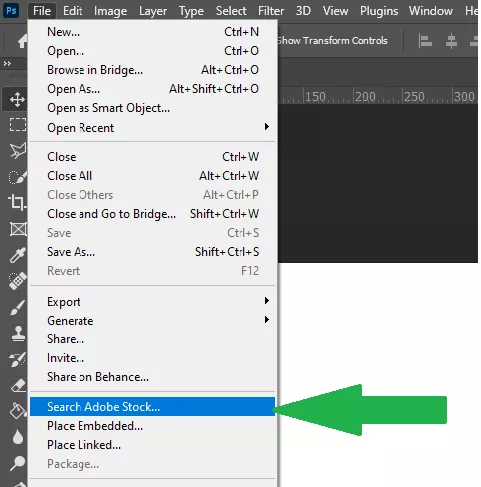
To add a background image to your design, you need to go to File > Open > Locate the image you wish to use. Once you locate the image you want to use as a background image, add it to your design. If the image is not in the preferred dimensions, you can adjust its size to fit the YouTube thumbnail size requirement. Photoshop is linked to Adobe Stock. If this is a part of your plan, you can access millions of free stock images you can use in your design.
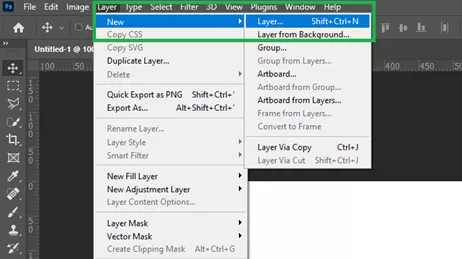
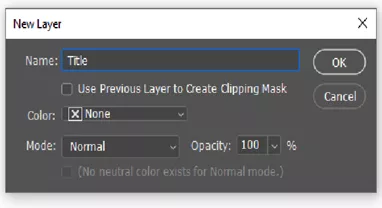
Adding elements to beautify your design is essential, as you can truly customize the thumbnail. The elements include text and shapes. To add one, you should start a new layer for each by clicking on Layer > Add New. Here you can name your new layer to keep track of it better.
In our example, we'll add a new layer and name it Title, and add a title to our custom YouTube thumbnail. Next, you can see as we add the Title text of the thumbnail. The same goes for each element you wish to add to your custom thumbnail. Photoshop does not offer pre-made elements, like some other design apps. Instead, to create an object, you will have to rely on your imagination and drawing skills.
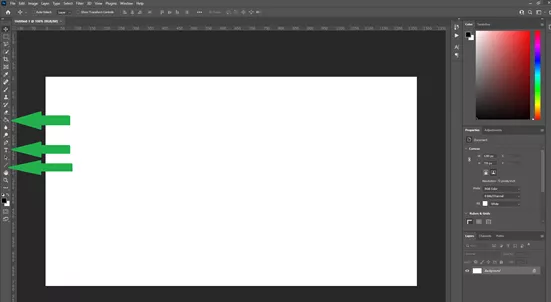
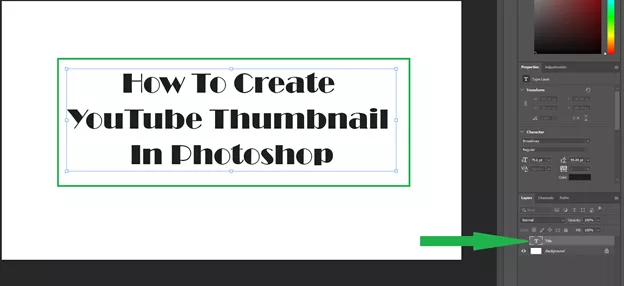
Once you have all the elements added to your design, you can arrange and tweak each element to suit your ideas. Do this by selecting the layer where the element you want to rearrange is located and then moving/resizing/editing it. To resize an element in Photoshop, you can use the CTRL + T (Free transform) command. For more commands, you can visit the Adobe Help Center.
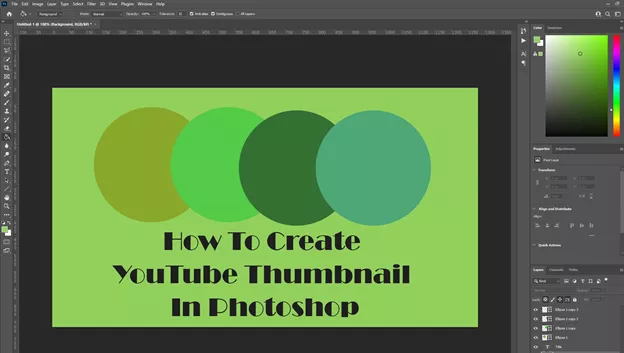
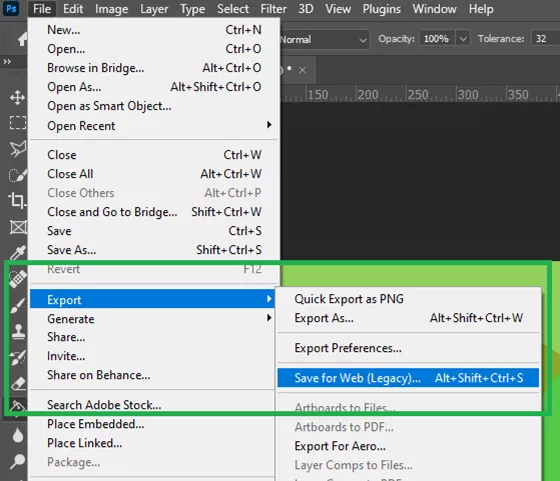
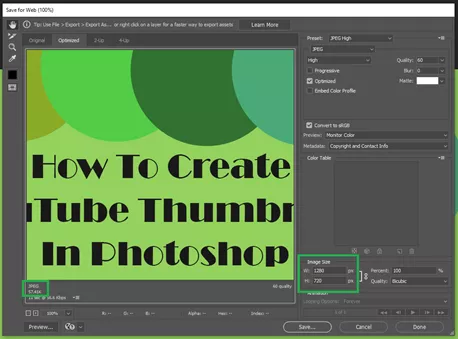
Once satisfied with your design and you are sure you are done, the next thing is to export it. To reduce your YouTube thumbnail design size without compromising the quality, you need to go to File > Export > Save For Web. The program will automatically optimize the design, and you need to specify the save location. From here, you can use your custom Youtube thumbnail in your video by uploading it the usual way.
Having good thumbnails for your YouTube videos is very important, as this is a way to attract people to your content. It would be best if you also tended to use your custom designs instead of relying on the auto-generated content or using someone else's designs.
Here we showed you how to make good thumbnails using Photoshop. The Photoshop design and editing software is part of the Adobe suite; this program is the usual go-to program for professional graphics and image designers. As such, it offers a staggering number of design features and has a price-tag to match. You can use the 7-day free trial to see if you can handle these features, and then you can decide whether you opt to buy the software.
Here we used the premium version to create this tutorial and show you how to create awesome custom YouTube thumbnail designs. We have to admit that Photoshop has a lot of advanced design features, and creating even a simple custom YouTube thumbnail does require some knowledge. But the program comes with excellent tips that can help you create a good YouTube video thumbnail.
