



If you’re trying to increase your YouTube video views, the first thing you should consider is what your YouTube video thumbnails look like. Video thumbnails are the “gateway” to your content and are therefore extremely important when it comes to your content’s success on the platform: engaging video thumbnails are crucial if you want to become a YouTuber.
Hence, in this article, we’re going to cover everything you need to know about YouTube thumbnails, so you could maximize your video views!
Simply put, a YouTube video thumbnail is a small clickable picture that’s displayed when your video isn’t playing. Meaning, you can see thumbnails on the search results page, the home screen, and the recommendations bar to the right of the video. A thumbnail is the first thing a YouTube user sees when he’s looking for content, so you want to make them as eye-catching and appealing as possible. Your thumbnail’s goal is to make people want to click on your video, it’s just like a cover of a book.
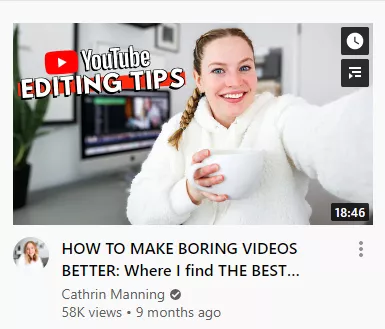
Video thumbnails are most commonly used to grab viewers’ attention and build curiosity, but they’re also designed to:
It’s no secret that one of the most important ranking factors in YouTube search (and the platform in general) is Click Through Rate - or CTR. Basically, that means that YouTube is looking for videos that people click on a lot of the time. The higher the CTR, the higher your video will rank. To get a high CTR, you need to make great thumbnails that compel people to click on your video.
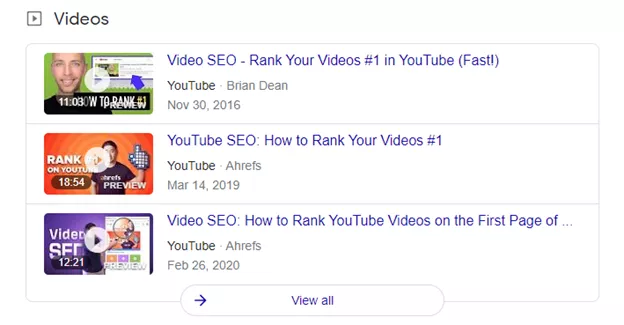
Everyone knows that you can find YouTube videos by doing a Google search. Google’s Search Engine Results Page (or SERP) has a feature called “Video Carousel”, as well as regular search results. With videos, you can see the thumbnails both in the carousel and on the search results. The more alluring they are, the more likely people will be to click on them and find your videos.
Turning your channel into a brand requires a lot of hard work, but there’s no doubt that it’s worth it. Having a cohesive, constant aesthetic in your thumbnails can help you brand yourself and help other people recognize your content at a simple glance - without even having to read the title or video description to know that it’s your content.
It’s no secret that good thumbnails look a lot more professional. If you see a video thumbnail that catches your eye, you’re immediately drawn to it. A sleek, professional-looking thumbnail will encourage people to subscribe to your channel and watch your content because people are looking for high-quality content to consume, and it all starts with that small clickable image. If you wondered how to optimize your YouTube channel, then improving your video thumbnails is one of the best ways doing it.
As mentioned in the previous point, people want quality when they’re watching YouTube content. They don’t want to see something that looks and feels like an amateur’s attempt at video making. Therefore, if you upload good thumbnails to the platform, you’re increasing your chances of getting more views and subscribers on the platform. This is the perfect method to increase video engagement without having to buy YouTube subscribers.
Regardless of your content, your video thumbnail appears on YouTube’s SERP (Search Engine Results Page), the recommendations bar, and every user’s home page. With so much exposure, you have to make sure that it looks good so people will want to click on it.
Adding a thumbnail to YouTube can be done in one of two ways:
This might be the easiest method, but it’s also the worst. While YouTube sometimes catches nice frames from your video, this tool is highly unpredictable and random. We really don’t recommend using this tool if you have other options - like making your own custom video thumbnails (which we will explain).
Well, yes. 90% of the best performing YouTube videos have custom thumbnails.
Think about how people browse YouTube - they have infinite video content options at the tips of their fingers and they usually determine which video they’ll watch by looking at the video’s thumbnail. Humans are very visual creatures and will be drawn to great thumbnails more than they will be drawn to the video’s title or description.
To upload your own custom thumbnail, go to your YouTube Studio and click on Videos.
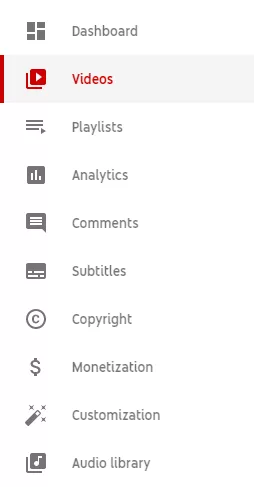
Hover with your mouse over the video you want to add a custom thumbnail for and click on the little pencil icon.

On the next screen, click on “Upload Thumbnail” to upload your new thumbnail. When you’re done making changes, click on “Save” and you’re done!

Because of the importance YouTube thumbs has for channel growth and popularity, there are many video thumbnails editors available for YouTubers and content creators. To decide which are the best YouTube thumbnail makers, please keep reading below -
Canva.com is the number one free tool for making YouTube thumbnails on the internet. You can find tons of ready-made templates to use on it, it’s very intuitive and user-friendly and we generally can not recommend using this platform enough.
Log into Canva.com and click on the “Social Media” tab. Scroll until you find the “YouTube Thumbnail” template and click on it.

On the left side of the screen, you’ll find ready-made templated to use or gather inspiration from.
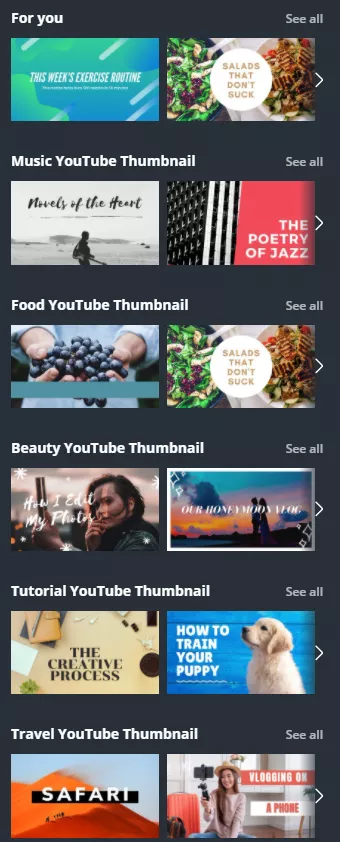
You can also create your own thumbnail from scratch by playing around with Canva’s tools. On the left bar, you’ll find options to add text, change backgrounds, and add images to your thumbnails.

PicMonkey is another graphics design platform that enables you to create beautiful graphics for your every need. While Canva is a free tool, PicMonkey is a paid tool and is less commonly used by YouTubers.
Visme is another great, free tool to make thumbnails. While it’s not as commonly used in the YouTubers community, we heard some great things about it and if you’re feeling adventurous, you might want to check it out!
Using the right video thumbnail size can make all the difference. If you want the best quality picture on all devices, the best way to go is a 16:9 ratio (or 1280x720 pixels). Save it as a JPEG/JPG, PNG, BMP or GIF. Keep your thumbnail’s size under 2MB but make sure the resolution is still high.
Avoid “busy” backgrounds as much as possible. Instead, choose a neutral but compelling background for your image that will complement the message you’re trying to convey. Here’s an example for what you shouldn’t do:
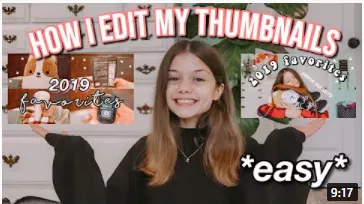
This background image is WAY too busy and the text seems to blend into it. Here’s an example for what you should be doing:
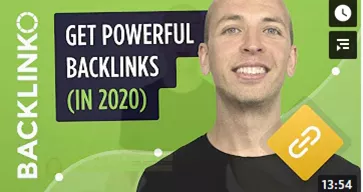
This background doesn’t clash with the text, but enhances it. The graph graphic is transparent enough to be easy on the eyes, but noticeable enough so you could see it.
Overlay text over the background image if you want to enhance your YouTube video thumbnail. Use descriptive texts and make sure you use an easy-to-read font. The right text will upgrade your thumbnail tremendously. Make sure you use keywords in your text so people will know that this video is what they were looking for. Here’s a good example for using overlay text on a video thumbnail:
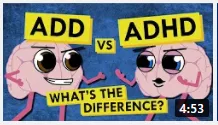
If you want your YouTube video thumbnail to be effective, the added text needs to be easy to read. Make sure to choose colors that not only complement each other and your video, but are also easy to read. For this, high-contrast colors are a good option because they will make your text “pop out” of the screen.
The picture in your thumbnail needs to be memorable and attention-grabbing. It needs to be something that makes people want to click on your video and watch it. So, opt for a close-up of the subject matter of the video, use exaggerated facial expressions, and proper lighting. Make sure your image is as clear as possible and related to the video’s subject.
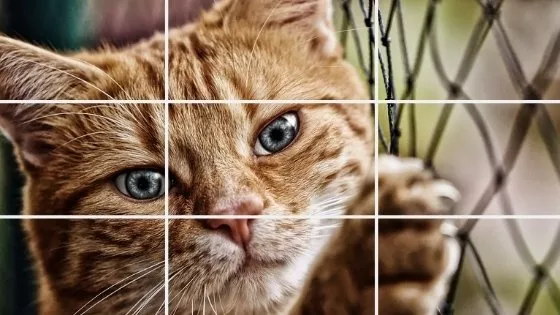
The rule of thirds is a famous photography practice used to create more balanced and engaging images. It involves splitting up the image with 2 horizontal and 2 vertical lines. Then you position the important elements along the lines or at the intersections.
The most successful videos on YouTube use their branding in the form of consistent character, icon, color scheme, etc. throughout all their thumbnails so that when seen, viewers immediately recognize that the thumbnail they’re looking at belongs to a certain brand. Branding your thumbnails (and content) is how you develop a connection with your viewers because people like familiarity and the feeling as if they belong.
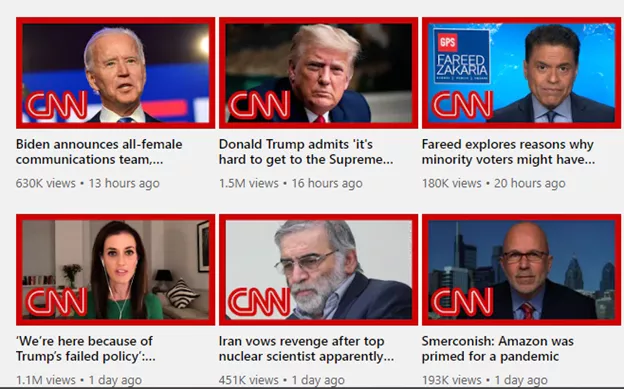
CNN’s thumbnails are great because as soon as you see the red frame with the CNN logo (watermark) inside, you know who that thumbnail belongs to. Notice how all thumbnails have the same look and feel to them, as well. CNN did a wonderful branding job!
There are 3 ways to do this:
This is pretty self-explanatory. With this method, all you have to do is upload your thumbnail and check both on PC and on mobile if your thumbnail looks good. It’s that simple.
With this method, all you have to do is press F12 on your keyboard. Then, this screen will pop up on the left:
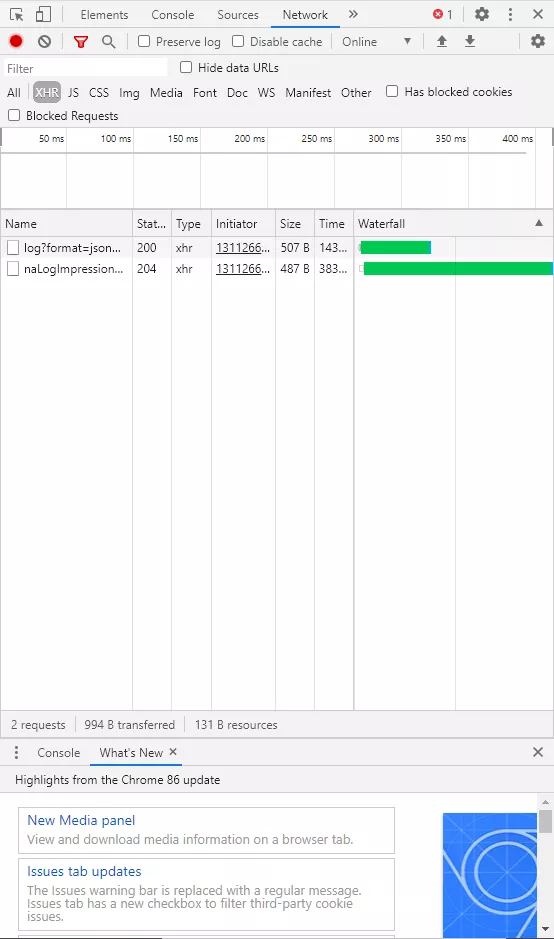
At the top, click on the little “Phone” icon (on the top left corner) and you’ll
be able to see what the page looks like on mobile.
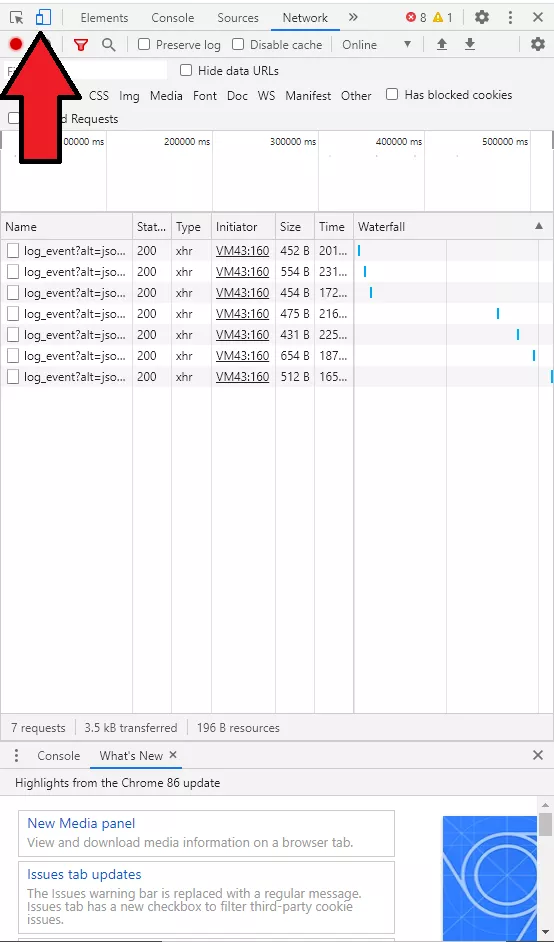
This way, you can see what your thumbnail will look like for people scrolling through YouTube on their phones and tablets.
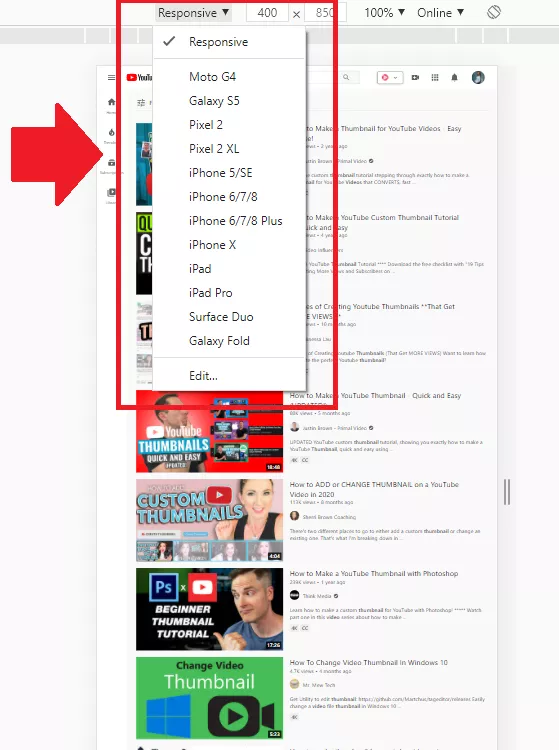
You can also choose which device you want to “use” by clicking on the “Responsive” option on the top left (look at the screenshot for reference):
Thumbnail preview tools are mostly free to use, and there are plenty of them. We find TuBeast to be the best around because it lets you see what your thumbnail will look like on different pages on YouTube as well as on different devices. All you need to do is to upload your thumbnail design and click ‘generate thumbnail preview’.
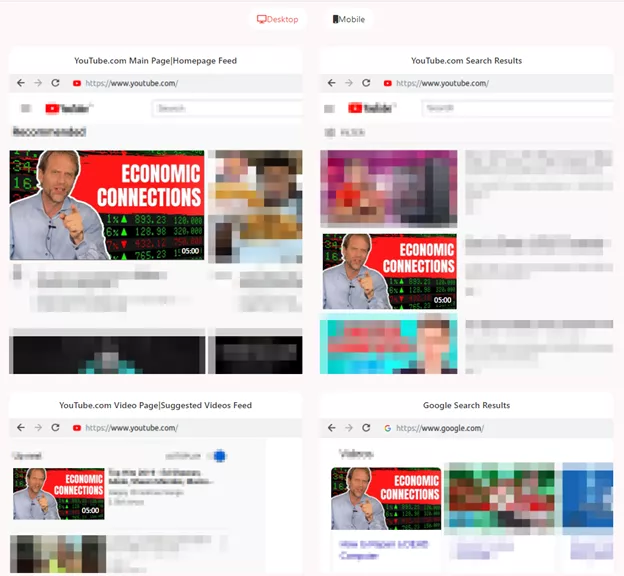
Numerous researches and studies found that using facial expressions (and showing faces in your thumbnails in general) will increase your video’s CTR tremendously. So, if you want your thumbnails to really work, consider showing your face clearly with a clear, sometimes exaggerated facial expression. It works wonders -

One of the most common mistakes YouTubers make when designing a custom thumbnail is putting too much text on it. While they are (understandably) trying to capture attention, build intrigue, and get their message across, having too much text will only distract from the thumbnail itself and ultimately have the opposite effect.
A common rule of thumb is that if you can’t read a thumbnail’s text in a quick, sideways glance - it’s too much.
This is a pet peeve of ours. Some people figured out that text is the way to go, which is great - but their execution is horrible. Using text that’s too small or unreadable (because the color blends in with the background) is counterproductive. Instead of helping people figure out what the video is about, you’re only confusing them that much more. To avoid that, make sure you only use your keywords in the text and keep the font large and readable.
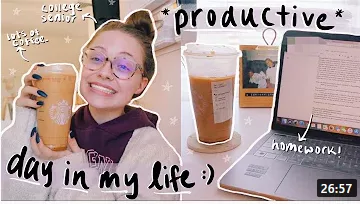
As you can see, the text in this example is way too small and doesn’t make any sense. Plus, the font is unreadable. There is no chance that the size of this overlay text can be seen on mobile devices.
As we’ve already mentioned, it’s great to use a person’s face in your custom video thumbnails. However, be mindful of the expression captured in the snapshot. It makes perfect sense: some facial expressions are flattering and some aren’t.
Try to avoid dull and generic snapshots in your thumbnails. Make sure you have color and something dynamic going on in your thumbnail to make people want to click on it.
Nothing is worse than seeing a blurry thumbnail. It’s not compelling, it’s not pretty - it’s just a blur. When taking pictures for your thumbnails, make sure the subject is clear and well-lit.